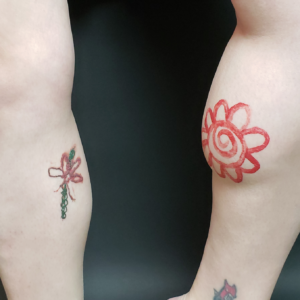
Art has a way of letting our brains speak without using words (1). Body art can be used as an outlet for people who struggle with their mental health (2). This can be done via permanent or temporary methods. However, not everyone who has a tattoo or does body art is struggling with mental health. Whether you’re observing, producing the art, or being used as a model, body art can play an important role in a healing process.
The Artist
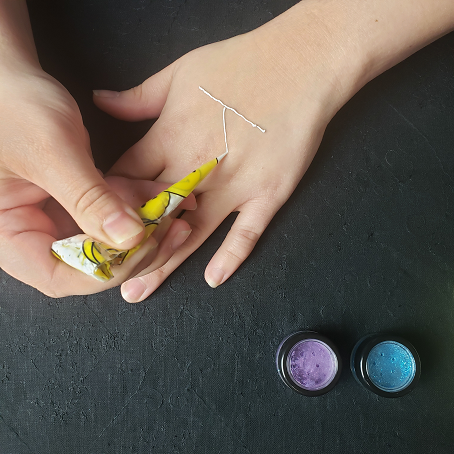
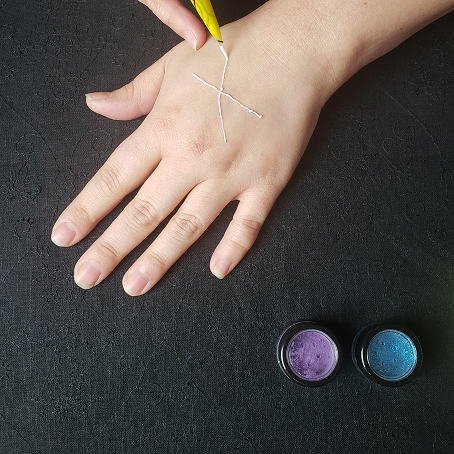
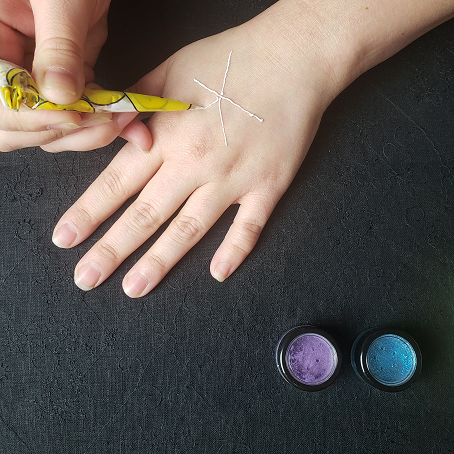
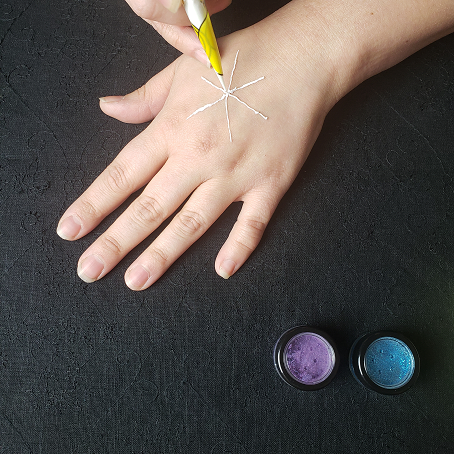
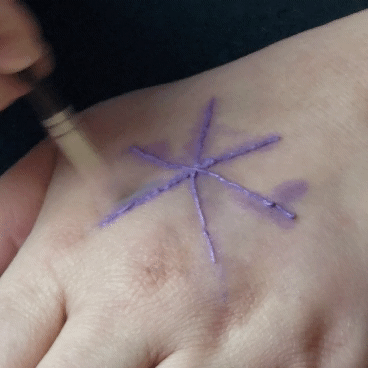
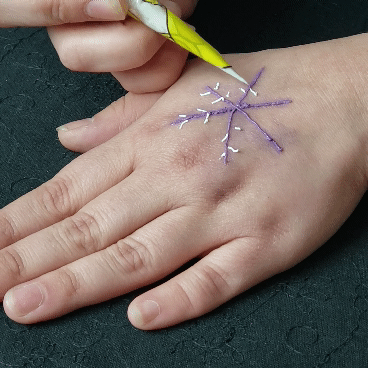
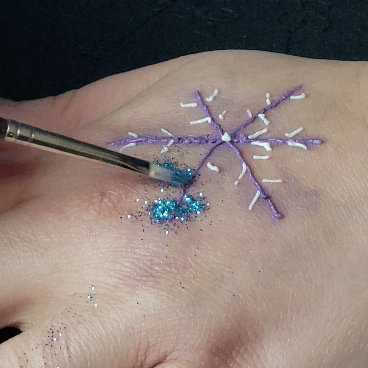
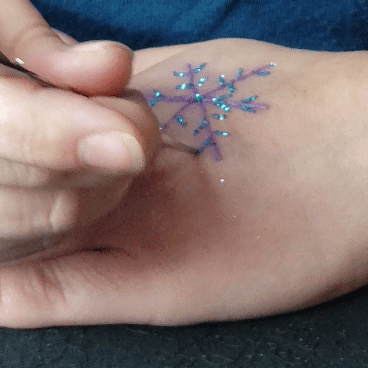
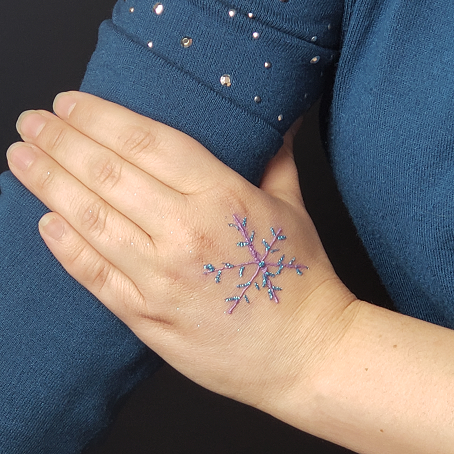
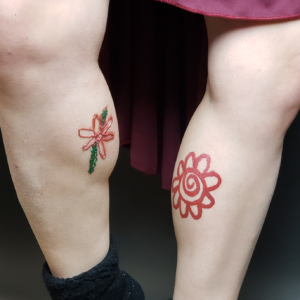
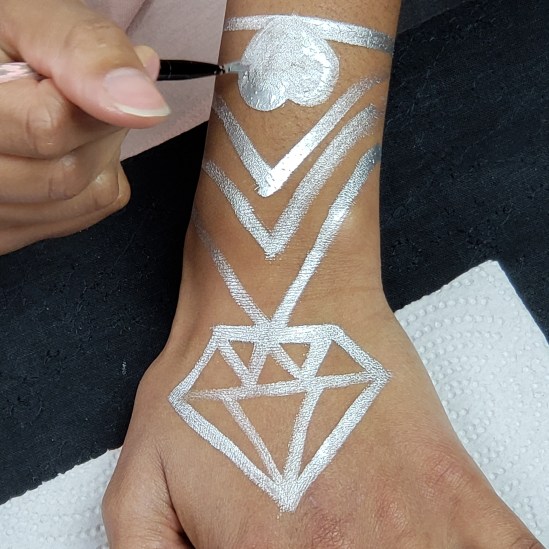
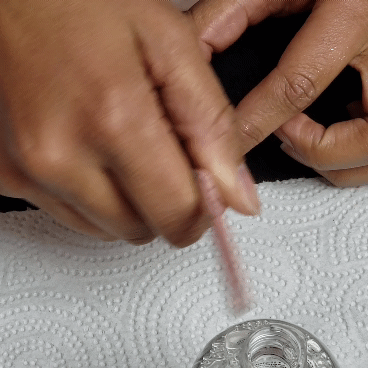
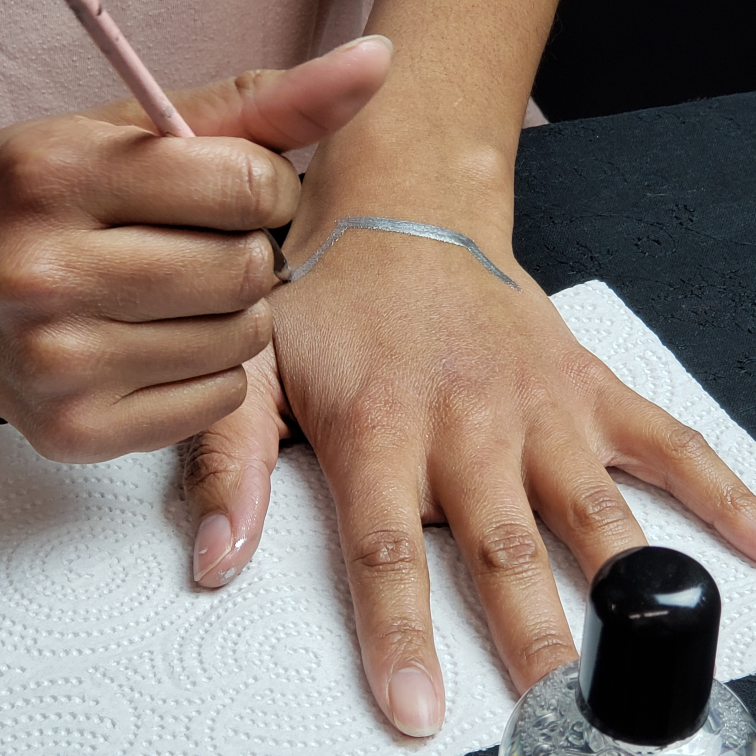
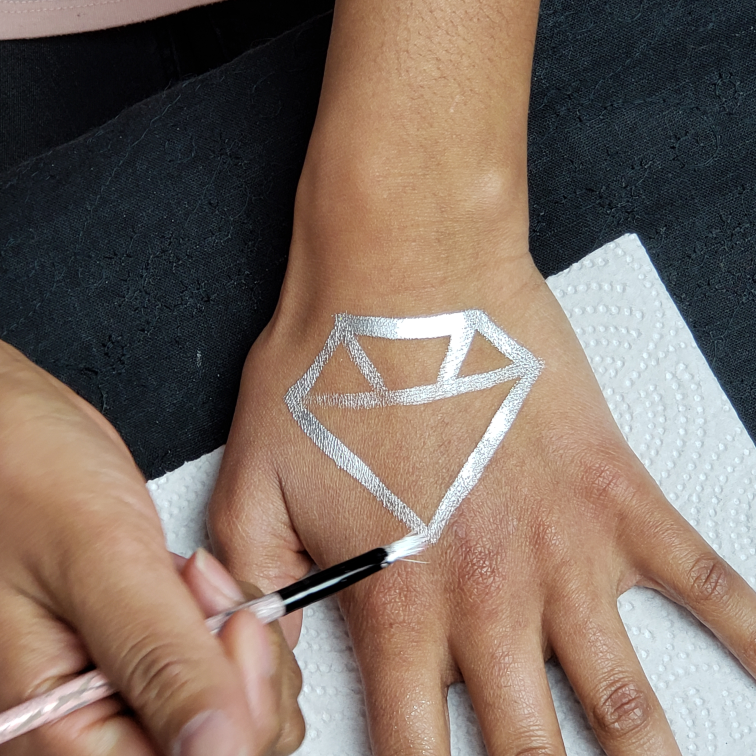
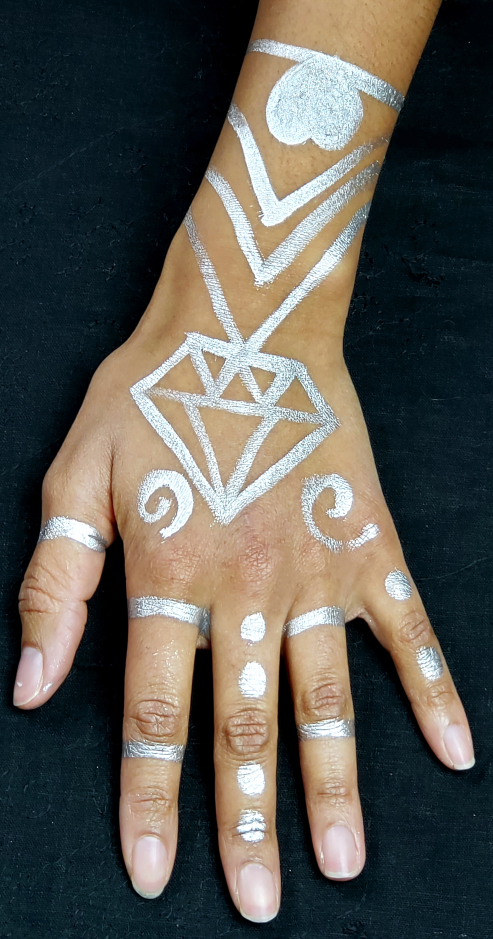
The human body is a unique canvas. Learning to work on bodies is an acquired skill as bodies have various shapes, bumps, scars, and pigmentation. It’s a continuous learning experience and it helps you think on your feet when a plan doesn’t work out.
Sometimes an artist will spend several hours working for a single photo or video. The art is then washed off, never to be seen in person again. The image becomes a new form of art when it becomes a photograph or video. Whether one person or a million sees your work, it’s all worth it in the end. Not all art has to be shared.
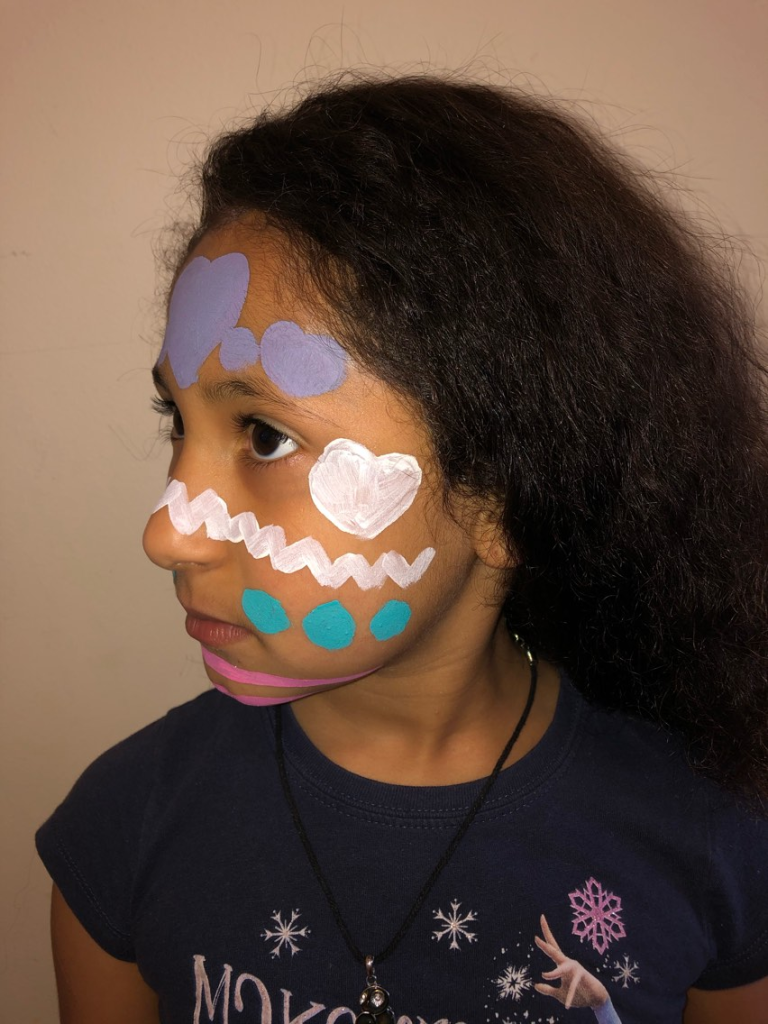
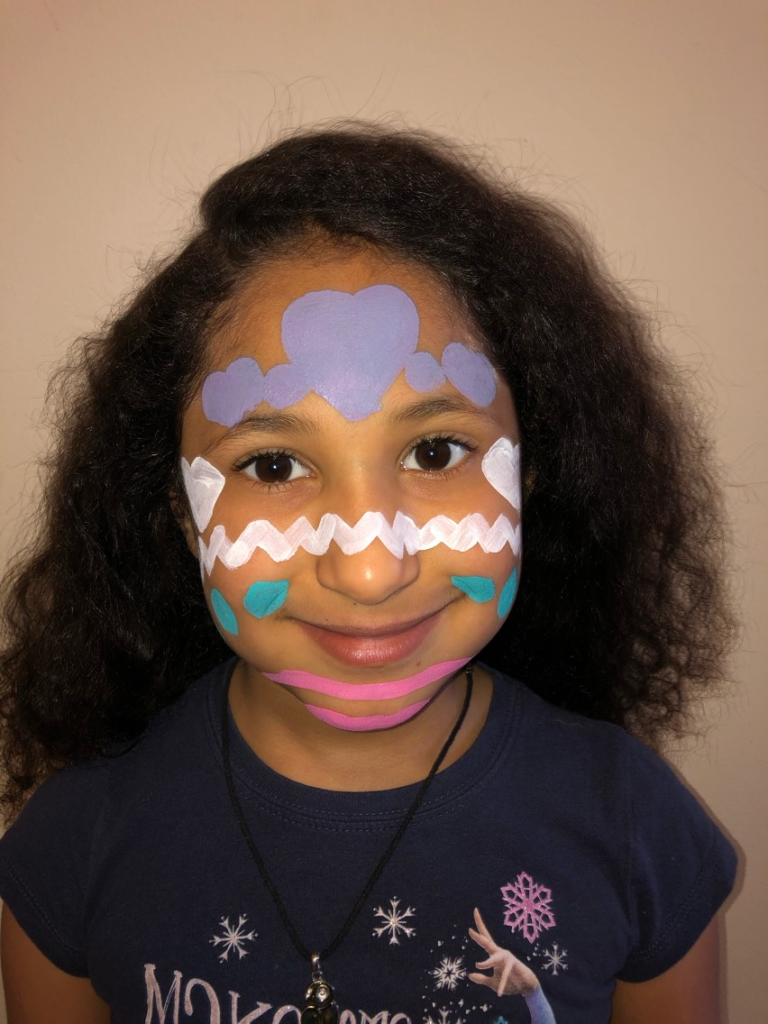
The Model
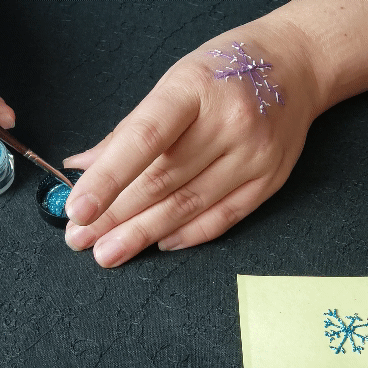
In some circumstances, being painted on can feel tranquil. Models may have to hold uncomfortable positions that can prevent the feeling of tranquility, however.
I’ve had models fall asleep while I’ve painted them or tell me that it felt great to get paid to relax. The strokes of a soft brush against skin can be soothing, especially if you’re feeling down or struggling with a negative state of mind (3).
The Art Itself
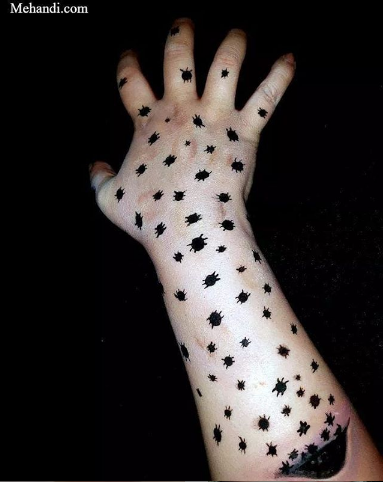
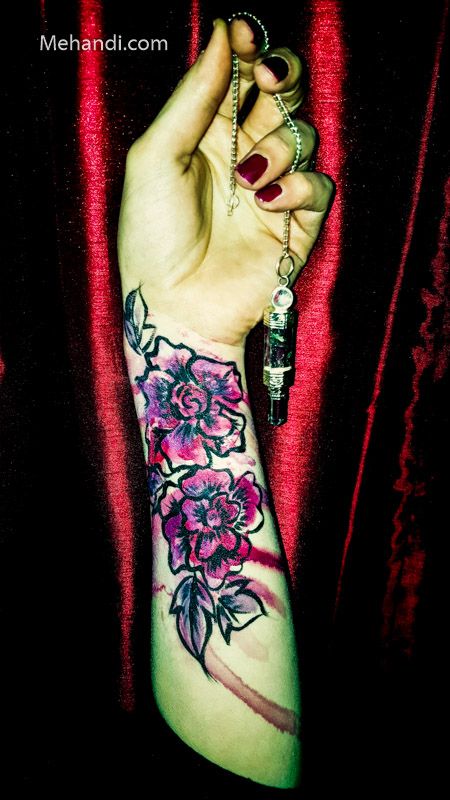
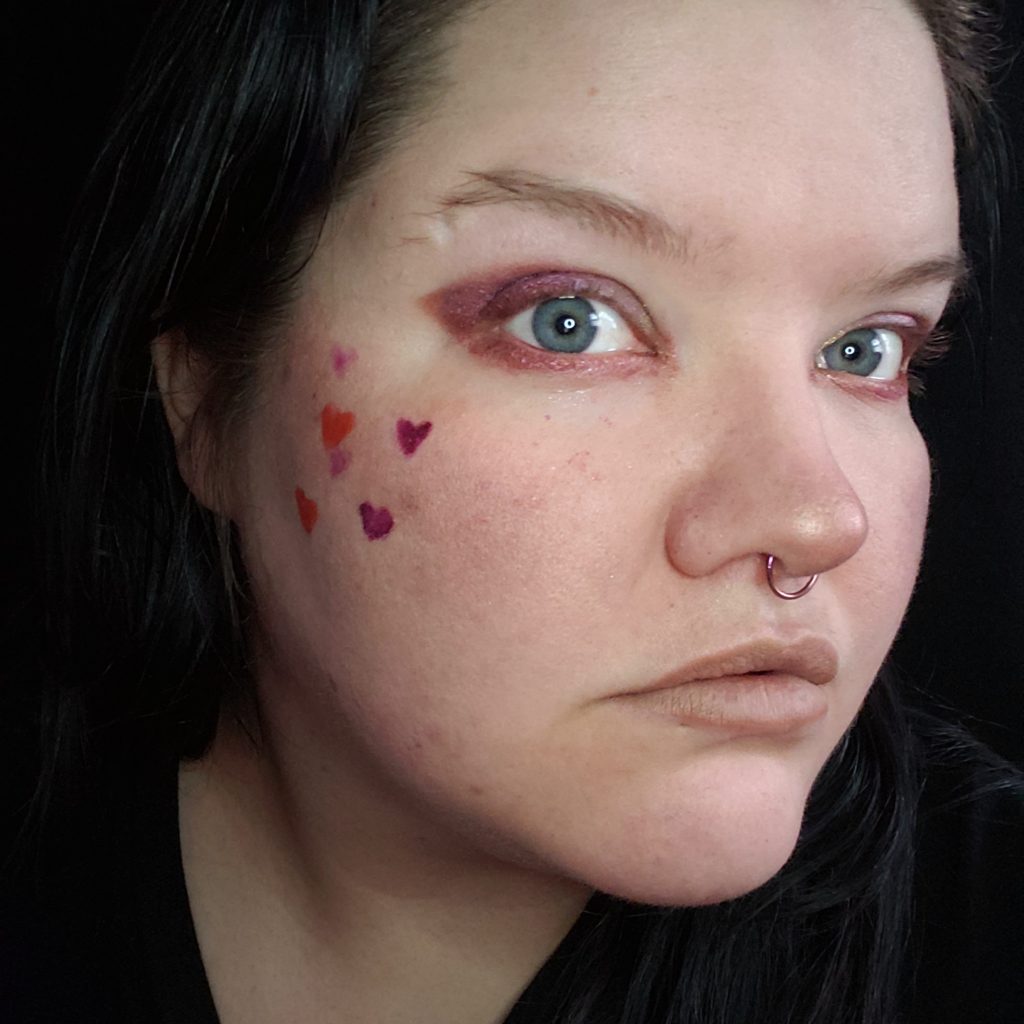
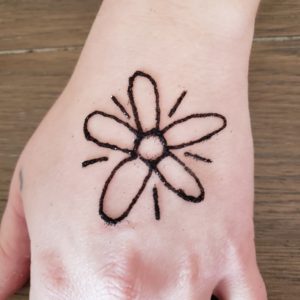
Viewing art has plenty of positive benefits on our brain such as relieving stress (4). It can also help us feel like we’re not alone. Have you ever come across a piece that you felt connected with? Perhaps it made you feel understood. Art can offer insight into how someone else is feeling by using visual means. In the photo above, there are bugs crawling around the skin and the hand is held in a tense position reaching into the dark. This is a personal representation of anxiety.
My Experience
My mental illness casserole recipe contains a dash of OCD, a pinch of depression, and a whole lot of PTSD and anxiety . Creating and photographing body art helps me work through these. I find tranquility when I’m painting. I have music playing, I’m focused, and I usually have a plan of what I want to accomplish. Body art teaches me to have patience with myself. It reminds me that I may picture one thing, but the outcome may be something much different. I become focused in the present when I create. Sometimes I surprise myself, and sometimes I disappoint myself. The disappoints are a gentle reminder that perfection is an unrealistic standard, and that is okay. I’ll always keep painting as long as I know people who don’t mind letting me borrow their bodies for a few hours.
There are plenty of reasons to give body art a try, whether you decide to be the artist, model, or both. Mehandi sells wonderful mediums that you can use regardless of what stage of art you’re in.
Here are some links on more information using different mediums of body art:
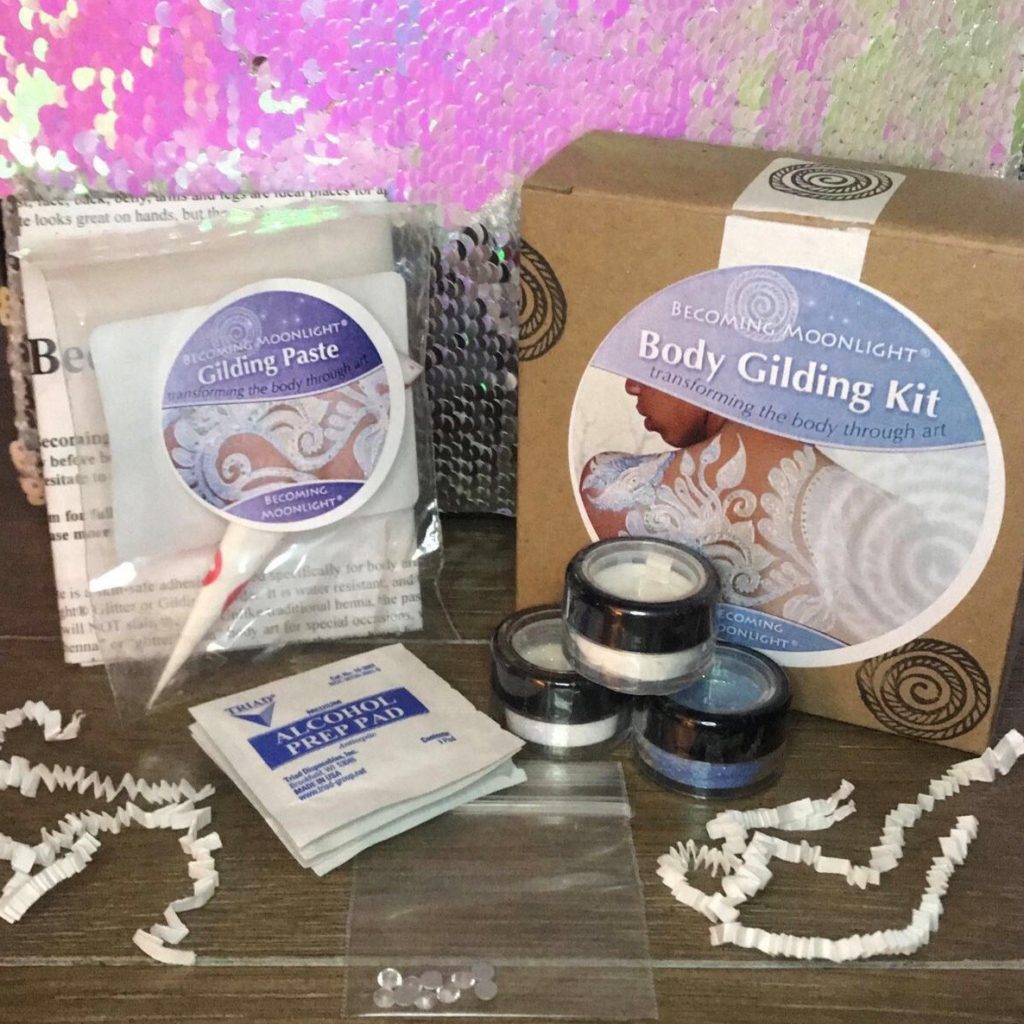
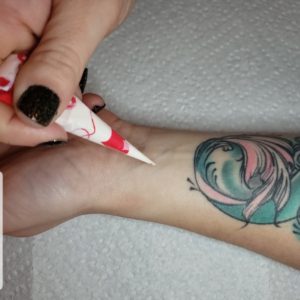
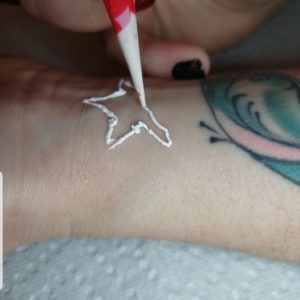
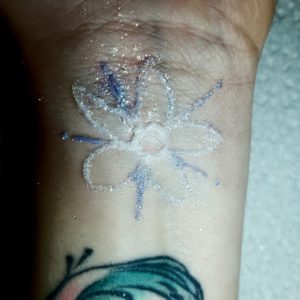
http://www.becomingmoonlight.blog/2017/10/18/white-henna-gilding/
http://www.becomingmoonlight.blog/2017/10/02/henna-on-body-part-one/
http://www.becomingmoonlight.blog/2017/10/10/henna-on-body-part-two/
Important numbers:
If you’re contemplating suicide, please call: 1-800-273-8255
If you’re in a crisis text HOME 741741
If you’re ever in an emergency situation call 911
*This article is not meant to treat or diagnose any mental illnesses. This article is meant for entertainment purposes only and shares my personal experience.
 Maria • Licensed Cosmetologist of Ohio • Ancient Sunrise® Specialist
Citations
- Stephanie Lewis Harter (2007) Visual Art Making for Therapist Growth and Self-Care, Journal of Constructivist Psychology, 20:2, 167-182, DOI: 10.1080/10720530601074721
- Shekhar, Divya. “When Words Fail: How Body Art Is Helping People to Narrate Stories on Mental Health Issues.” The Economic Times, 19 June 2018, economictimes.indiatimes.com/magazines/panache/when-words-fail-how-body-art-is-helping-people-to-narrate-stories-on-mental-health-issues/articleshow/64643091.cms?from=mdr.
- Fetell, Ingrid. “Sad Times Call for Soft Textures.” Psychology Today, 20 June 2011, www.psychologytoday.com/us/blog/design-and-the-mind/201106/sad-times-call-soft-textures.
- Gallery, Park West. “Art and Health: The Real-World Benefits of Viewing Art.” Park West Gallery, 26 Feb. 2020, www.parkwestgallery.com/art-and-health-the-benefits-of-viewing-art/#:%7E:text=It’s%20true%E2%80%94recent%20studies%20and,and%20boosting%20critical%20thinking%20skills.

 Damaris • Licensed Cosmetologist • Ancient Sunrise® Specialist
 Liz • Ancient Sunrise Specialist


 Patty • Ancient Sunrise® Specialist